Welcome to our Visme review.
Here at Blogging Wizard, we’ve tried different tools for creating infographics, engaging presentations, and other visual assets for our content. And of all the services we’ve tried, Visme became our go-to graphic design tool.
Why?
Because Visme caters to both professional graphic designers and those without any design skills or experience. That’s right — even non-designers can use Visme to create visuals they can be proud of.
And it goes beyond simple social media graphics. You can use it to create branded charts & graphs to drop into data driven articles. These work great for earning more backlinks.
In this Visme review, we’ll tell you everything you need to know about this graphic design tool including its features and pricing information.
Let’s begin.
What is Visme?
Visme is an online design tool with unique features that make it a great alternative to professional graphic design software like Adobe Photoshop. It has a drag-and-drop interface that makes it more appealing to content creators and owners of small businesses.
This tool goes one step further. Not only does it allow you to create still images, but you can also animate your presentations, graphs, and charts. This is instrumental in publishing eye-catching lead magnets to build email lists. We should also point out that custom graphs and charts will make more people link to your content which will benefit your link building campaign.
Visme features and interface
Visme has a simple, easy-to-use interface. When you log in, you’ll get redirected to the main dashboard where you can start to create infographics and other graphic design projects by clicking Create New Project.
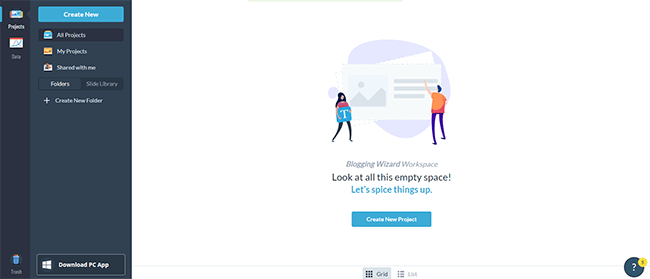
Alternatively, you can click Create New from the sidebar to start a new project.
Selecting a template
When you click Create New Project, you’ll find a list of all the types of images that you can design. By default, the selections show the most popular options including presentations, infographics, charts, social media graphics, and videos. However, Visme encourages you to use its search function to find the exact type of asset you’re looking to create.
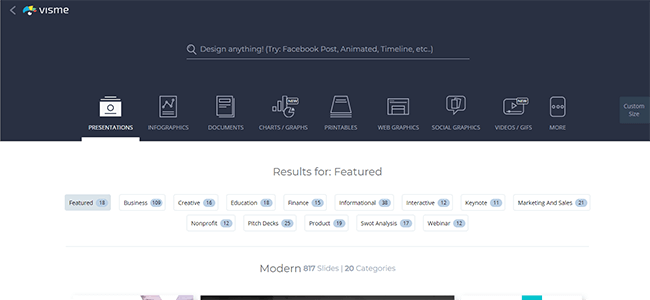
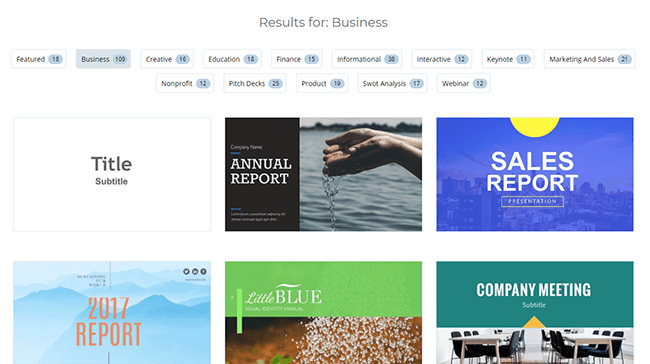
Selecting one of the options will reveal templates that you could use to jumpstart your project. Selecting Presentations, for example, will show all the available presentation templates. Conveniently, templates are categorized by industry or purpose.
Notice that you have the option of starting a project from scratch.
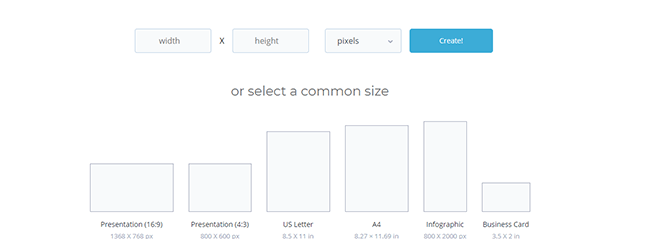
There is also an option to create a blank canvas by entering a custom size. You can specify the width and height in pixels, inches, or centimeters. Or you can select from a list of the most common sizes that people use for their graphics.
But let’s stick to using one of the Visme templates provided.
Clicking on one of the templates will reveal more information about the design. To be more specific, you’ll get to see what it looks like in different aspect ratios.
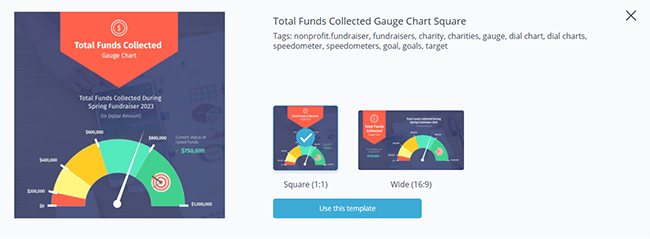
When you’re happy with your selection, click Use This Template.
Customizing your graphics
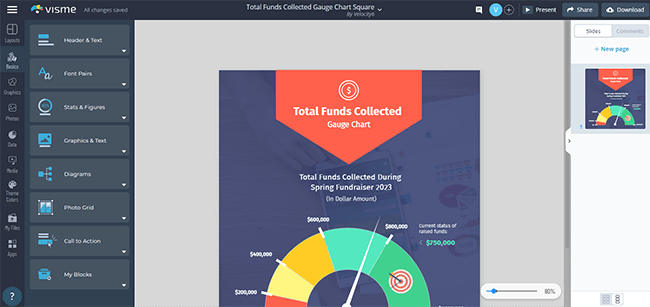
Let’s move on to the star of the show — Visme’s graphic designer tool.
This is where you make all the customization you need to make each template uniquely your own. You can edit text, add elements, add diagrams, change colors, and more.
As there are a ton of design options available, it’s worth exploring on your own what you can do on Visme. But we’ll give you a rundown of the major features of its design tool.
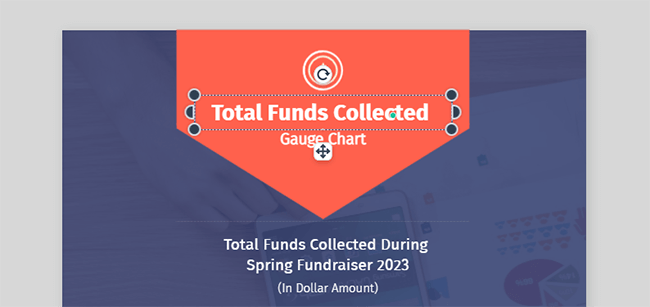
When you hover over the different design elements, Visme will highlight which ones you can edit. For example, hovering then clicking the text will allow you to edit the content of the element.
However, clicking on a graph/chart will let you edit the values instead. You also have the option of changing the colors that represent each value.
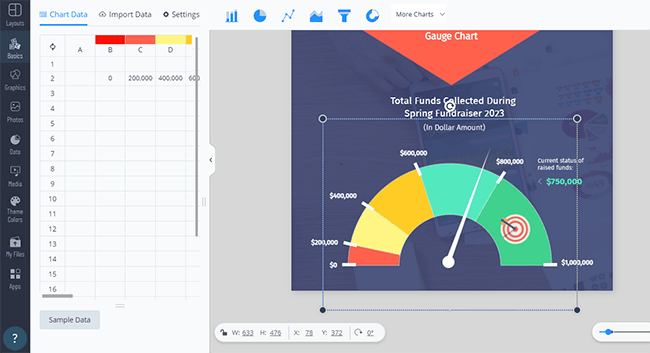
We should point out that you don’t have to manually input your numbers. You can import data directly from Google Sheets, Microsoft Excel, Google Analytics, or SurveyMonkey. Additional settings give you the option to change other aspects like the heading, legends, values, and appearance.
You can delete an element by selecting it then hitting the delete key. You can also resize design elements as needed.
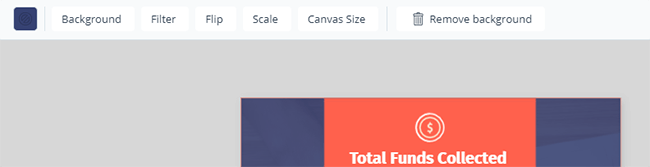
Just above the template, you’ll see additional design options. What you see here will depend on which design element is currently selected. If you click on the background, the options will allow you to change the color, select a filter, flip the image, set the canvas size, and change the scale.
But when you select other elements like a chart or text, it’ll bring up different options. In some cases, you’ll have the option to animate the design element.
Animating an element
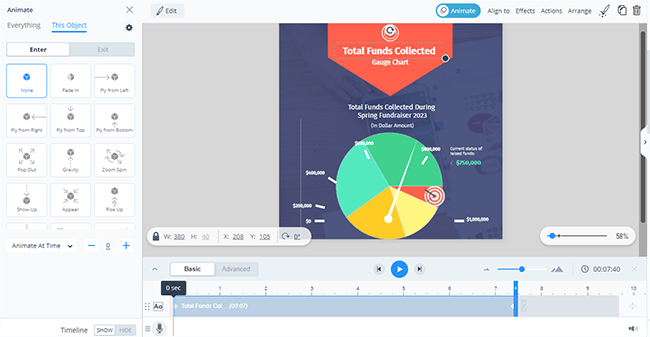
If there is an option to animate an element, clicking the Animate button will show you a list of the different animation effects available.
We have to admit: The animation panel might look intimidating at first.
But once you get the hang of it, you’ll be able to publish animated infographics and other interesting visuals in no time.
You can add animation for the whole page or to the specific element you selected. Actions can be as simple as fade in or you can have elements fly in and out from different directions. There are even more options as you scroll through the sidebar.
Just below the page is a timeline that lets you fine-tune the animation speed. You can toggle between Basic and Advanced to collapse or expand your timeline.
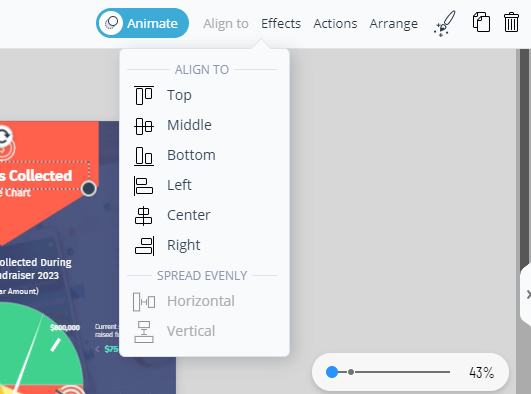
There are even more interactive features just above the page/image that you’re editing. These include alignment options, effects, and actions.
Inserting new elements
The sidebar will contain all of the customization options you need to create designs. And with all the available options, you can make even the most complex concepts a reality.
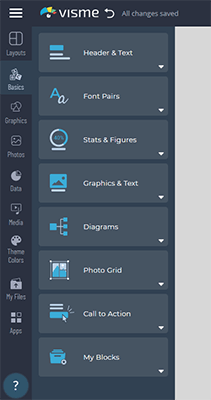
Let’s start with Basics. Here you’ll find most of the elements that you’ll need to update your design. You can insert headers and text, font pairs (text elements with more than one font type), stats and figures, graphics, diagrams, photo grids, and call to action.
There’s also a section called My Blocks where previously saved content blocks can be accessed.
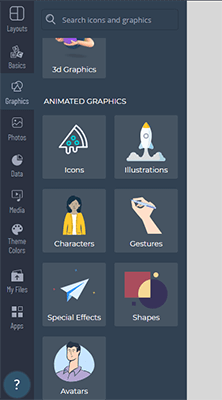
Graphics is where you go if you want to insert lines, shapes, icons, and 3D graphics. You can also find animated resources here such as icons, illustrations, characters, and avatars.
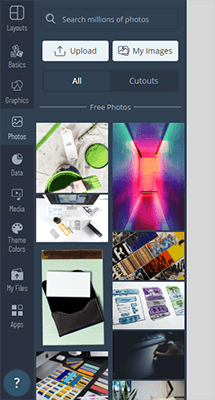
Photos will contain free-to-use stock images that you can insert into your graphics. This is also where you can upload photos from your computer.
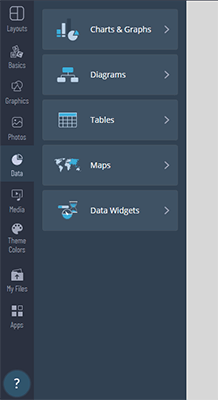
If you need to add graphics that support numbers and figures, you’ll need to go to Data. You can find assets here like charts, diagrams, tables, maps, and data widgets to help you get your point across more efficiently.
Media lets you insert videos, embed online content, or add audio files to your presentation. There are stock videos available. But you also have the option to upload your own. The same can be said about audio files. In addition, you can record an audio file straight from Visme.

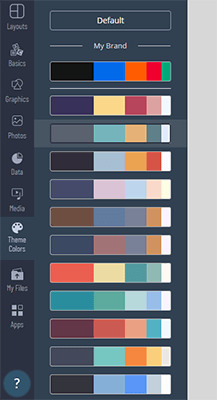
Theme Colors let you select a combination of colors to use for your design. This is especially useful for a marketing manager that would like to use brand colors more consistently.
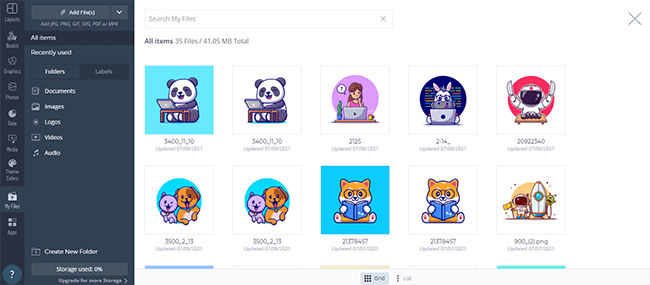
My Files contains all of the media content that you uploaded to Visme. It’s a repository of previously used assets.
Apps will allow you to insert assets from third-party tools and services. Clicking YouTube, for example, lets you embed a video by pasting its URL. You’ll need to integrate some of the other apps to use them though.

There’s also a section called Layout that lets you update the layout of your current design or add one if you’re using a blank template.
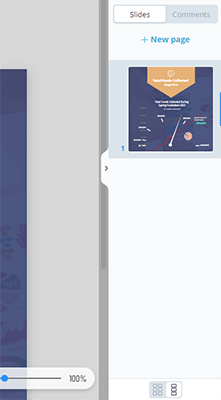
Adding a new page
If you’re working on a design that has multiple pages, you will find the Add New Page option on the right-hand side of the design tool.
This is also where you can access all the comments made by members of your team.
Previewing and saving your work
When you are happy with your work, you can click the Present button to preview your whole work, including all the animations you inserted.
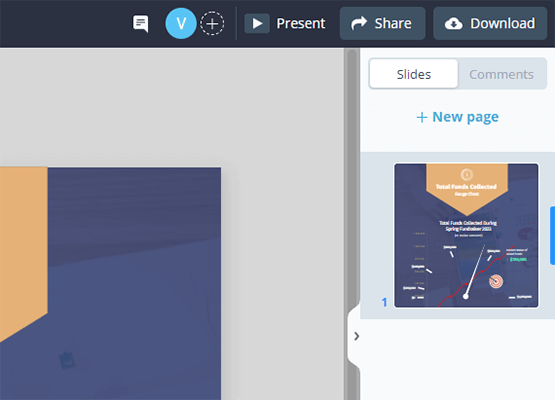
Right beside the Present button are the Share and Download buttons. Hitting the Share button will give you the option to share the graphics as a link (perfect for social media posts). You can also share your work privately, only allowing specific people to access the graphic. Or you can embed it on a website.
You can give your work a title and description which makes it discoverable on search engines.
The Download button will let you save your file locally in JPG, PDF, or PNG format. For video files, you can save your work in MP4 or GIF. Working on a presentation? Don’t worry. You can download these types of files as PPTX or HTML 5 instead.
Reviewing Visme analytics
We should also mention that Visme comes with an Analytics feature. It can keep track of your work’s progress, showing you how many views your projects get.
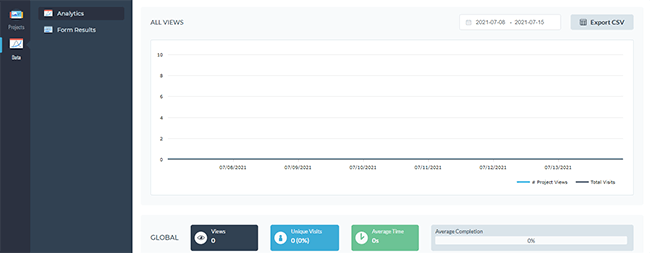
You can also get the results of your forms and export the data in CSV format.
Visme pricing
Considering how Visme has the ability to make everyone look like they have years of graphic design experience under their belts, this tool is priced reasonably well.
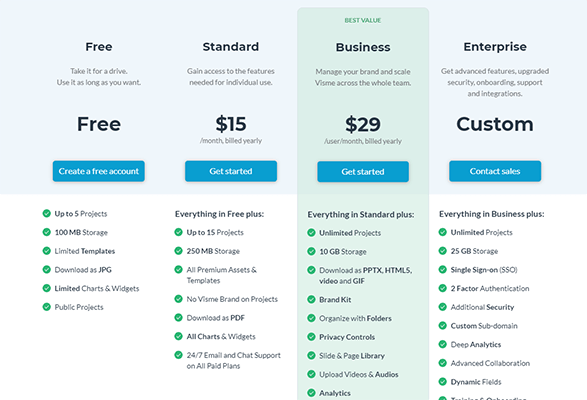
Free version
For starters, there is a free version available. Of course, a free account will have limitations. You can only start five projects. And you don’t get access to all templates, charts, file formats, and widgets.
Also, you only get 100 MB worth of storage.
Still, it’s more than enough for you to get a feel for the product and see if it’s a great fit for your business plan.
Standard plan
The Standard plan is $25/month or $15/month if billed annually.
Under this plan, you can create up to 15 projects. Storage is also increased to 250 MB. This time, you gain full access to all templates and assets. Visme will also remove its branding on all of your graphic works.
This plan comes with 24/7 email and chat support.
Business plan
The Business plan is $49/month or $29/month if billed annually.
It has everything included in the Standard plan. Only this time, you get to create an unlimited number of projects and get up to 10 GB of storage. It also unlocks all the other formats not included in the Standard plan like HTML 5 and GIF.
This also unlocks the option to upload video and audio files. You’ll get access to collaborations and annotations too.
You’ll need the Business plan if you’re planning on integrating third-party apps and collecting leads.
This plan is for users that need more options and flexibility.
Enterprise plan
The Enterprise plan has all the features included in the Business plan. It’s also the most secure of all the plans because it includes single sign-on (SSO) and 2-factor authentication.
It also offers deep analytics, custom sub-domain, advanced collaboration features, dynamic fields, premium support, and training tools.
If you want to know more about it (including its custom pricing), you’ll need to contact the Visme sales team.
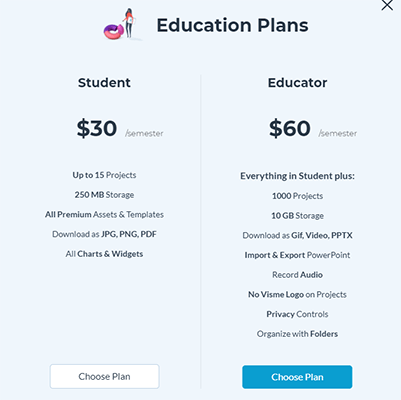
Educational plans and non-profit discounts
It’s worth noting that Visme has educational plans available for both students and educators. Students can pay $30/semester while educators pay $60/semester.
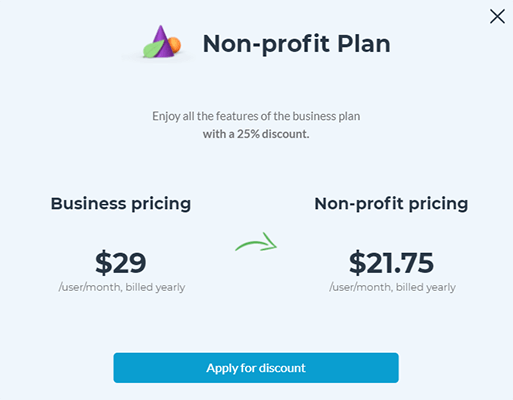
Non-profit organizations can also get a 25% discount off the Business plan to bring the price down to $21.75/user/month (billed annually).
Visme pros and cons
Here’s a list of the things that we like about Visme as well as aspects we think it could improve on.
Visme pros
- Visme makes it so easy to start and publish a professional project from scratch.
- Users can download a desktop version of Visme for Mac and PC so you can work offline if needed.
- The included templates are all stunning.
- It’s affordable and can replace professional graphic design tools like Photoshop (depending on the use case).
- Create animations from scratch or use a template.
- Create branded infographics, charts, and graphs. These can help you earn more links to your content.
Visme cons
- Some file formats are locked behind more expensive plans.
- There is a limit on storage capacity.
Visme review: final thoughts
So should you get Visme?
Yes, we think you should. Especially if you’re not a graphic designer but want to produce high-quality images and animations for your business’ site or social media pages.
There are a huge number of templates. You can create all sorts of graphics, animations, and charts.
And it has some neat features to improve your workflow such as branding assets. Typography, and brand colors, etc.
It’s easy to use, affordable, and a great tool overall.
But it is your opinion that matters most. The best part is that Visme has a free plan so you can get a feel for the tool without spending any money.
The premium plans are fantastic but you can get a good bit of mileage out of the free plan too.
Disclosure: This post contains affiliate links. This means we may make a small commission if you make a purchase.