Need some help adding your first few pages to your WordPress site?
Between WordPress theme demos, page builder plugins and the new block editor, creating a page in WordPress has never been easier.
In this post, we are going to show you how to get the job done.
2 alternative ways to add a new page in WordPress
You add a new page to WordPress by default with the block editor (Gutenberg). It’s an intuitive tool that makes it easy for anyone to create engaging pages in WordPress without any third-party themes or plugins.
However, there are easier ways to add a WordPress site. For example, if your WordPress theme came with importable demos, you probably have all of the major pages you need. Many demos create ready-made home, about, blog and contact pages for you. Visit the Pages section in the backend of your WordPress site to see if your theme came with it.
If you already have a design and these pages weren’t created for you, a Page Builder plug-in allows you to import a variety of different fully designed pages.
Plugins like Thrive Architect, Elementor, and Beaver Builder all have custom page templates that can be imported into your site. As with theme demos, these templates have ready-made designs. All you have to do is customize the styles of the page to suit your brand and replace all the placeholder text and images with your own.
However, it is important to keep in mind that when using a Page Builder plugin you are usually bound to use that plugin.
For this reason, we recommend sticking to the Gutenberg block editor that comes with WordPress for adding pages to WordPress.
So for the purposes of this tutorial, let’s focus on a new page with the Gutenberg block editor.
How to add a new page in WordPress
Adding a new page to your WordPress site only takes a few clicks.
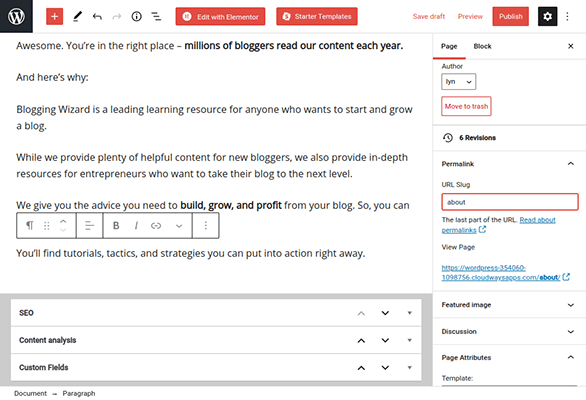
To create a new page, log into your WordPress, go to Pages → Add New. The first step is to add a page title like “Contact” or “About” to your WordPress site.
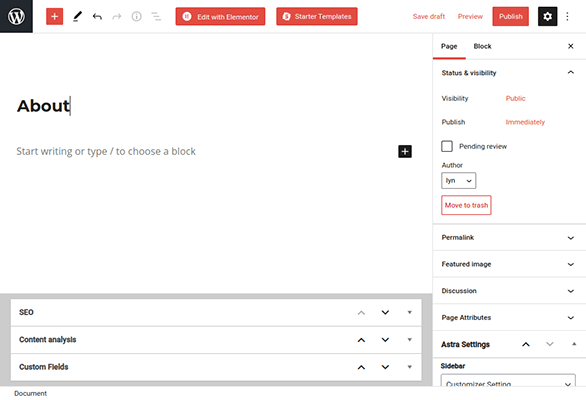
In the upper right, click Save Draft to save your new page as a draft. WordPress has an autosave function. That said, it’s good to get in the habit of manually saving every now and then to make sure you don’t lose your progress if you go offline or lose power.
You should also click Preview and preview your WordPress site in a new tab. Every time you save your changes, update this preview to see how those changes will look in the front end of your site.
If you create your home page or blog page with a design that doesn’t have a demo version provided, you’ll need to assign its template to take on the styles and features your design intended for those pages. Refer to your theme’s documentation for more information on the template to use.
You’ll also need to do this if you want to create a blank page or a full-width page with your chosen page builder plugin.
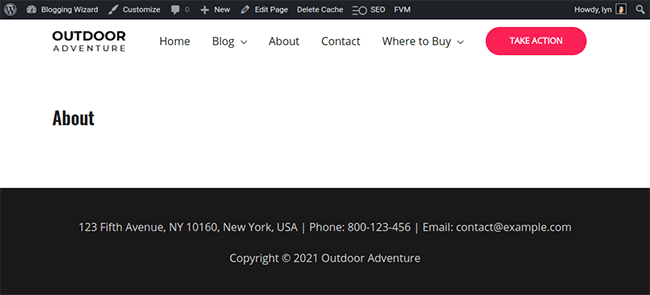
One of the first things you’ll notice is how your design puts your page’s title at the top. In general, you want to hide this in favor of a proper headline or just showcase the content of the page.
Certain topics have a built-in feature that allows you to hide titles for individual pages. For example, if you have the Astra theme, you can find this setting under the Astra Settings tab.
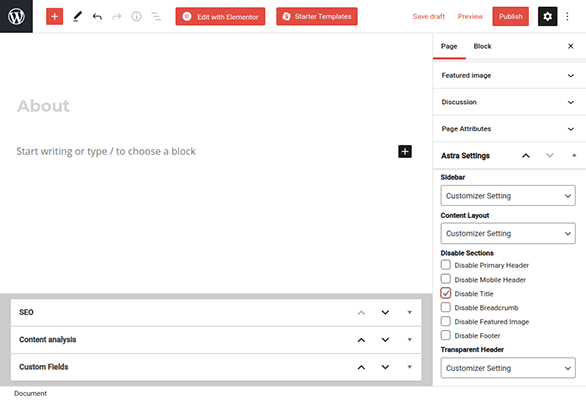
Some themes place this setting somewhere in the live theme customizer. Find it by going through the settings below Appearance → Customize.
Using the Gutenberg Block Editor
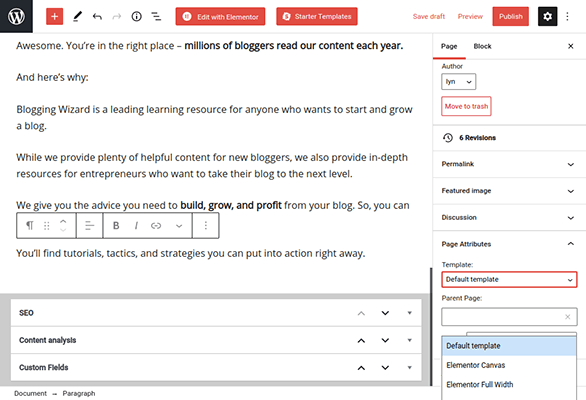
The WordPress editor allows you to create well-designed pages made up of blocks of content. Just start typing where it says “start writing” to create a block of paragraphs.
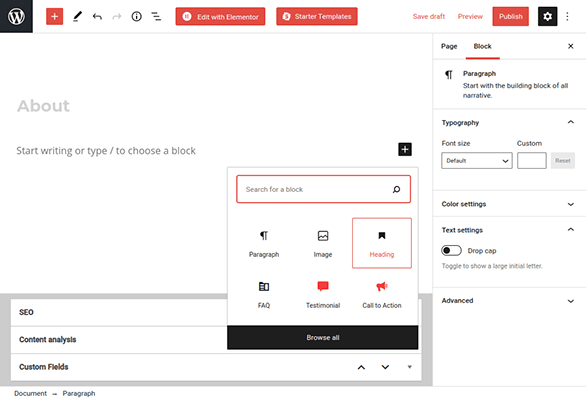
Click the + button to add more content blocks. To add a heading, find the content block and select it.
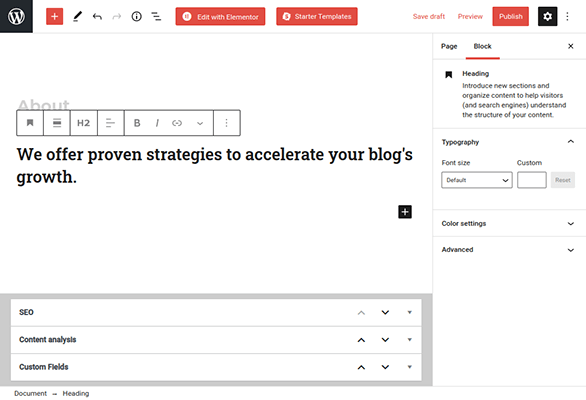
You can use H1-H6 heading tags in WordPress. These tags represent the size of each heading and what it means. H1 tags are reserved for page and post titles. So start with an H2 day. If you need to break a section of your page into subsections, use H3 tags for those subsections.
Click the + button again, this time just select Browse. This allows you to see all of the content blocks available in the block editor. You can access it even more with a third-party block plugin, like the free Ultimate Blocks plugin. It comes with a number of extra blocks that you can use, as well as more style options.
Here are some blocks to use on your page:
text
- List – Include a bulleted or numbered list in your post. When using the Ultimate Blocks List block, you can use a custom icon for each bullet point.
- Quote / pull quote – Include a stylized section for quotes or important statements. Each topic treats styles for quotations differently.
- table – A great way to add simple tables to pages for schedules, statistics, price comparisons, and more.
media
- picture – Include pictures in your post. Check out our guides on creating better images and optimizing their performance for more help in this area.
- Media text – A block that combines a media block with text. Add accompanying descriptions to your pictures.
- cover – Create a section where you can put text over an image.
- Picture gallery – Create a few rows of images to showcase a collection of related images.
- file – Include a button that will allow your readers to download a file from your website.
- Audio-video – Put this here to advise against using them. Uploading audio and video files to your own server is not recommended as it will take up quite a lot of space over time. Instead, use the third-party platform blocks in the Embeddings section, e.g. B. YouTube, Spotify, Vimeo and SoundCloud.
design
- Keys – Include a button in the post.
- columns – Create a section where you can insert different blocks side by side or on top of each other. Different column layouts are available.
SEO
- FAQ – Include a separate section in your post to present a series of frequently asked questions with answers.
You will notice a tab called Patterns in the Browse All section. These are stylized sections that you can use to speed up the process of creating certain parts of your page.
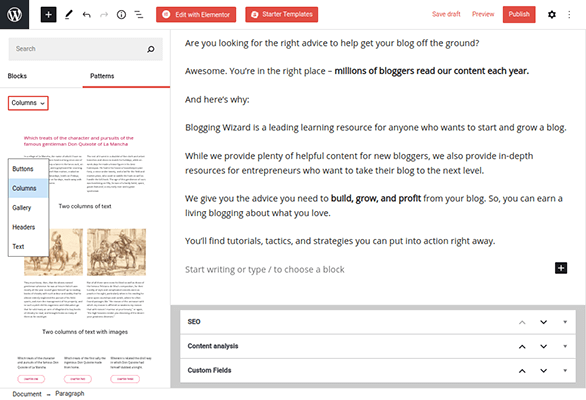
Here is an example using one of the heading patterns:

Here are a few tutorials we published on creating pages for your blog if you need a little inspiration:
The final steps before you hit publish
Add a simplified sentence as your permalink, e.g. B. “About” for an information page or “Contact me” for your contact page.
Add a featured image to represent the page as well. While this won’t appear on your website, it does provide social media platforms with an image that you can refer to when your page is shared on social media. Your theme’s documentation may provide dimensional guidelines for featured images, although 1200px wide images should work fine.
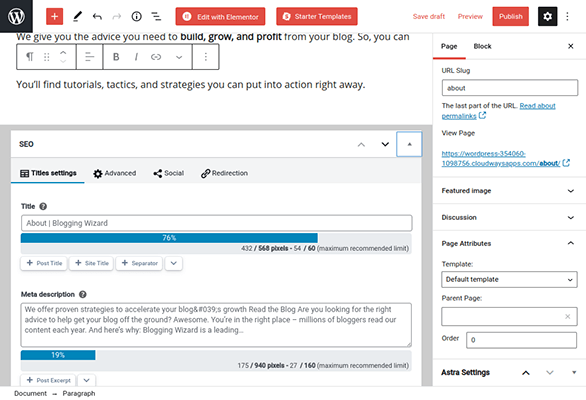
Finally, install an SEO plugin like SEOPress so that you can create a custom meta description for your page. This controls how the page is previewed in search results.
When you’re sure your page is complete, click Publish to upload it to your website. Make sure you add it to your menu too.
The difference between a WordPress site and a post
The way we create pages and posts in WordPress is the same, but how we use the two is completely different.
WordPress sites are static. Examples of static pages are your contact page, info page, terms and conditions, and so on. They are also usually located in the navigation menu of your website and sometimes in your footer.
WordPress sites are timeless, which means they don’t get updated often. For example, if you’ve created a contact page, it doesn’t update often. Blog posts usually require regular updates or even a complete rewrite of the post content. For example, a list of the best “WordPress Musician Themes” may need to be updated when a theme is discontinued or the price changes.
WordPress posts are usually part of a blog on a website and are also known as a blog post. A WordPress post can be added to categories and tagged. However, when you add a new page, the WordPress page editor is slightly different. The WordPress page editor does not contain any categories or tags.
Final thoughts
Knowing how to build WordPress sites and the difference between posts and pages can help you build a refined WordPress website.
Summarize:
- You can add a new page to WordPress by clicking Pages → Add New.
- The next step is to add a page title. Use the Gutenberg editor to add paragraphs and picture blocks if necessary. Finally, add a featured image before clicking preview, reviewing your page, and then clicking publish.
- If you’re using a WordPress theme that already has template pages, you can edit the existing page instead of adding a new page.
- A page is usually a static page, e.g. B. a contact page, etc. Therefore, any content outside of this area should be added as a WordPress post.
Now you know how to add a new site to WordPress. It’s time to fill your WordPress website with amazing content.
Related reading: How to Start a Blog: The Complete Beginner’s Guide.
Note: Would you like our latest content delivered to your inbox? Click here to subscribe to the free Blogging Wizard newsletter.
Disclosure: This post contains affiliate links. This means that we may receive a small commission every time you make a purchase.