Are you looking for a gallery plugin for your WordPress website?
There are plenty of such plugins on the market. And WordPress has a basic image gallery feature built-in.
The problem? Most of these basic solutions look clunky and don’t show your work in the best possible light.
That’s why, in this review, we’re taking a look at a popular gallery plugin called Modula.
Let’s dive right in and see how it works, and whether or not you should consider using it.
What is Modula?
Modula helps photographers, designers, and creatives display photo & video galleries that make their work shine.
The plugin is available as a free download from WordPress.org or you can opt for the premium version – this is best for professionals.
For example, in the premium version, you can automatically watermark your photos and disable right clicks so people won’t be able to save (and steal) your photos.
These are just a few of the features Modula has to offer. Now, let’s take a look at how to create a gallery using the free version of the plugin.
Creating a gallery using Modula Plugin LITE
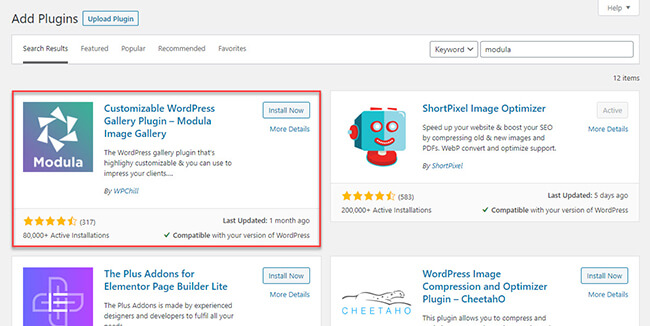
You can download the free version of Modula from the Plugins page in your WordPress dashboard.
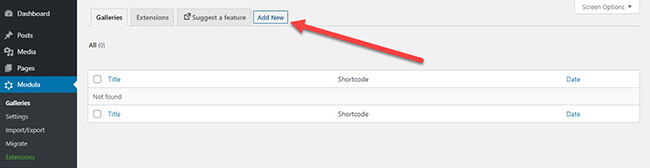
Next, click on Modula > Galleries from the left sidebar menu to create your photo gallery.
If you already have images uploaded in your WordPress media library, you can choose which ones here you want to display in this gallery.
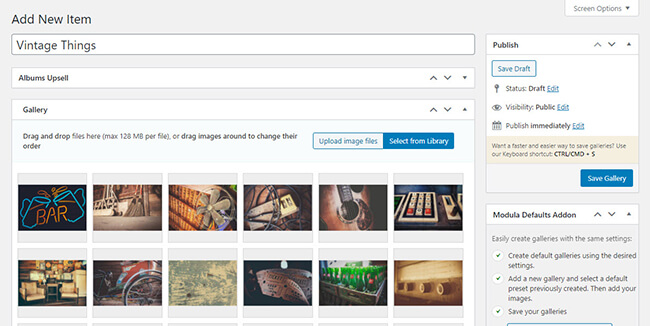
If not you can upload them from this page and select them to be included here.
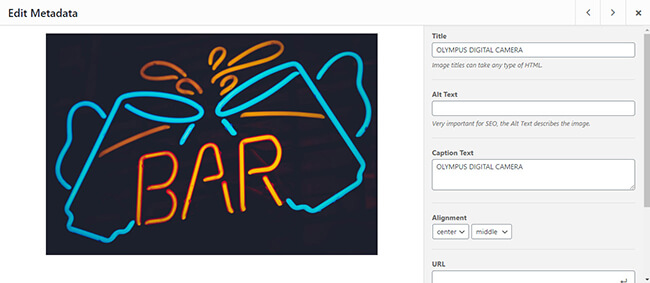
Click on the images to edit their respective metadata like title, alt text, caption, and others.
Next, scroll down the page to edit the gallery settings.
Here’s a feature list of things available in the LITE version:
- General – Edit the appearance and style of the photo gallery.
- Lightbox & Links – Decide to open images in lightbox galleries and directly link to each image.
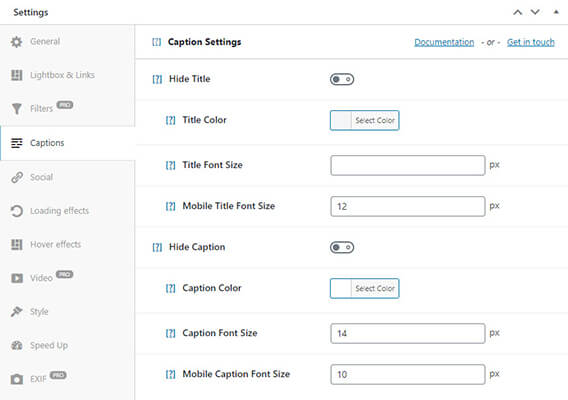
- Caption – Change the font, size, and color of each image’s caption.
- Social – Enable social sharing icons to allow visitors to share your work.
- Loading effects – Generate effects on images that are loading.
- Hover effects – Change cursor appearance and add effects when hovering over an image.
- Style – Edit border and shadow settings.
- Speed Up – Lazy load images in the gallery.
- Custom CSS – Customize the photo gallery your way using CSS.
Some of the features offer additional premium options if you subscribe to a paid plan. More on this later.
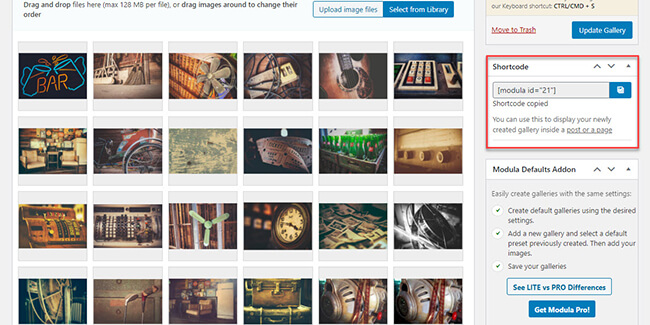
Click on Save Gallery once you’re done with the setup of your photo gallery.
To showcase the gallery on your site, you must copy the generated shortcode and enter it on a gallery page of your website.
Here’s how the gallery would look like using its default settings if featured on a page of your site:
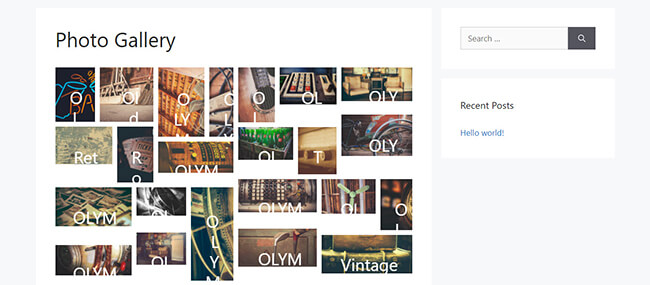
Click on the image to open it in a lightbox.
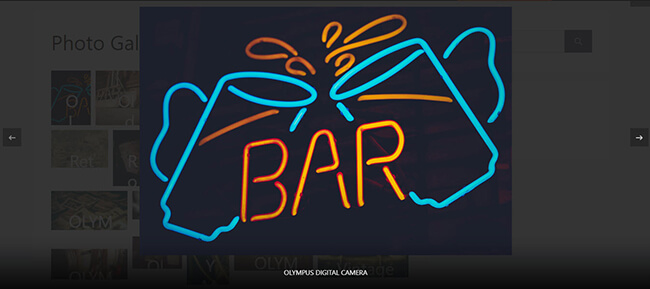
From here, they can browse the images in your gallery from left to right.
As it goes, the LITE version is good enough if you want a simple yet beautiful way to feature your photos.
However, if you’re looking for more functionality from your WordPress gallery plugin, you need to consider getting Modula PRO.
Setting up the Modula PRO version
Once you’ve purchased a copy of Modula PRO, download the premium copy of the plugin from the dashboard and upload it to your WordPress site.
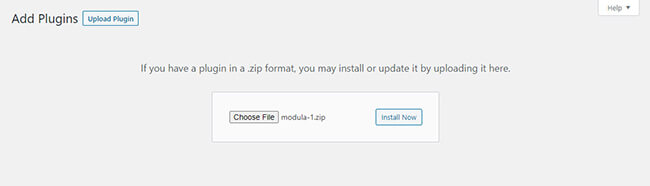
To properly install the PRO version, make sure that the LITE version is still installed on your site.
Next, enter your license key to activate the plugin and its premium features.
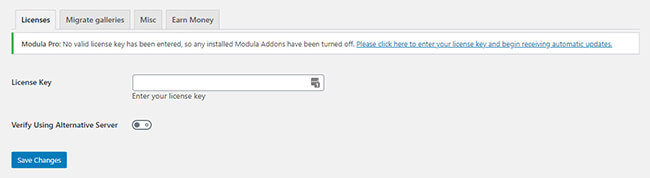
Once you’ve entered your license key, go to Modula > Extensions to install the premium features you want to use for your photo galleries.
If you don’t install and activate the extensions from this page, you won’t be able to enable their features when creating a new gallery or modifying existing ones.
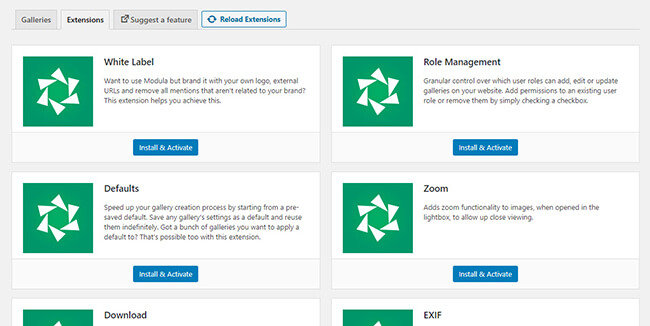
Below is a feature list of extensions you can install from here and a short description of each:
- White Label – Brand Modula using your brand and remove any mentions of Modula from the plugin. This is perfect if you offer photo gallery creation as part of your agency’s services.
- Role Management – Grant access to users who can add, edit, and/or update galleries.
- Defaults – Save gallery settings and use them on new galleries you will create.
- Zoom – Let viewers zoom in on your work when clicked and opened in the lightbox.
- Downloads – Give visitors the ability to download your works from the gallery.
- EXIF – Allow you to display EXIF metadata of your works in the lightbox.
- Gallery Albums – Create event albums for your galleries to organize your media files.
- Convert Gallery to Slider – Turn galleries into sliders.
- Lightbox Slideshow – Enable auto-play slideshow function in the lightbox. This way, people don’t have to click left or right for the next image or video.
- Password Protect Galleries – Give clients exclusive access to your work for their eyes only.
- Watermark – Imprint your logo in your works to prevent people from stealing them.
- SEO Deeplink – Create indexable URLs for each of your galleries.
- Right-Click Protection – Prevents people from downloading your work using the right-click mouse function.
- Advanced Shortcode – Link out to your galleries without creating unique pages for each.
- SpeedUp – Optimizes and resizes your images automatically for the web via Shortpixel, then loads them through StackPath’s blazing fast content delivery network. Saves you time and helps your images load faster.
- Video – Host videos hosted on your WordPress website or from third-party platforms and create galleries for them.
Must-use extensions
You don’t have to install and activate all the extensions available in the PRO version. For now, only enable the ones you’ll be using for your galleries.
Below are some of the extensions I recommend::
SpeedUp
Photos and videos eat up a lot of a page’s loading time.
If you have lots of these in your gallery, then expect the page where your gallery is embedded to load longer than usual.
As a result, some won’t have the patience to wait and will just leave the page. This would be unfortunate especially if they are your prospective clients for your photography or video editing services.
Modula’s SpeedUp extension helps you in several ways:
- It optimizes and resizes your images automatically as you upload them. It does this via a service called Shortpixel. This runs entirely behind the scenes. The upside? You don’t need to spend time resizing/optimizing your photos.
- It serves your images through the StackPath content delivery network (CDN). This essentially speeds up page load times globally.
Once you’ve activated the SpeedUp extension, go to Modula > Settings and click on the SpeedUp tab to enable the image optimization feature.
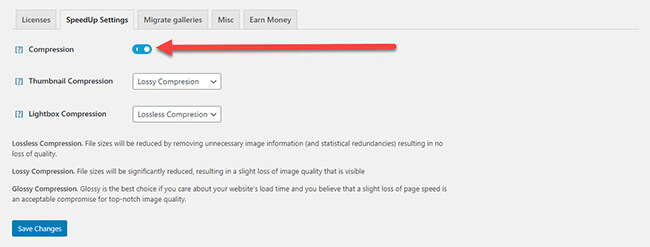
By default, the Thumbnail Compression is set to “Lossy Compression.” This means the image file size will be reduced significantly, which also leads to a slight loss in quality.
You can set this to Lossless Compression if you don’t want to compromise on image quality but still compress the image a bit.
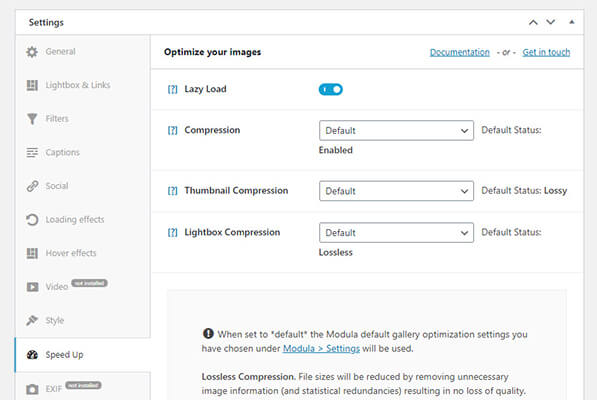
From the gallery, you can also access the SpeedUp feature here with the added option of enabling the lazy load feature.
To test the image optimization, we uploaded a 12.1mb image at 5760×3840 pixels. This is huge and under normal circumstances would take a long time for people to load.
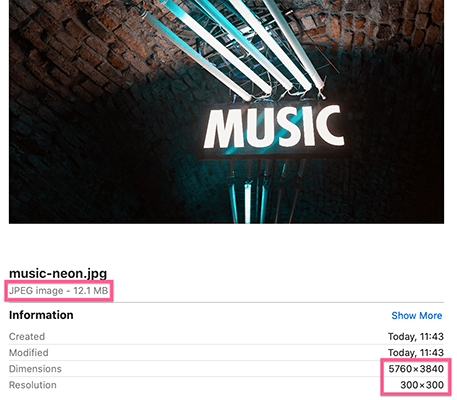
Here’s how things looked when we uploaded the photo to our gallery:
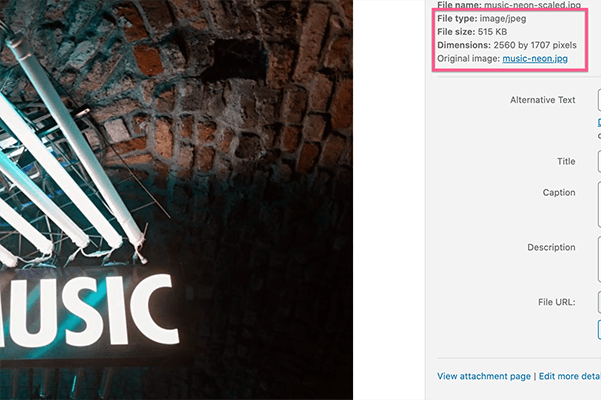
The image was resized down to 2560×1707 pixels which is a much better size for the web.
What about the file size? It came down to 515kb. That’s 95% smaller than the original which is amazing.
Next, we tested how much of a difference the CDN had on the time it took to load an individual image. Given this is usually what people want to see – close ups of your work – this is important.
Here’s how the optimized and resized image loads without the CDN:
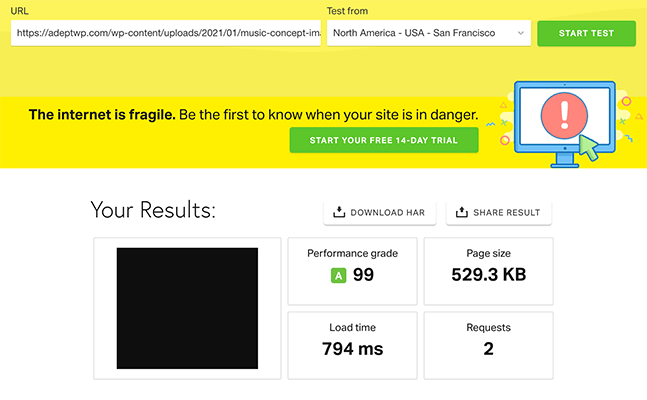
And here’s how the CDN changes things:
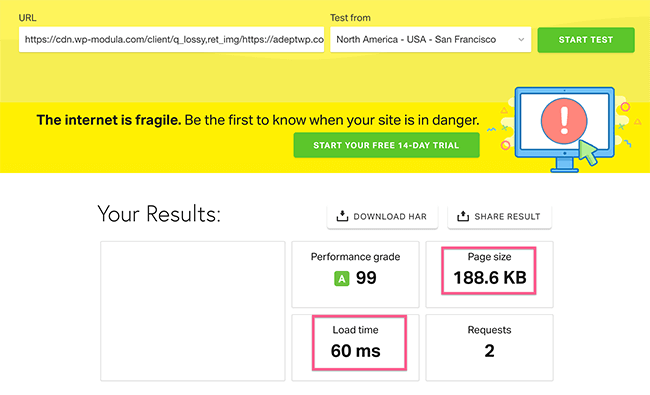
So, the CDN brings the load time from 794ms to 60ms and cuts down the file size even more.
Note: It’s important to mention that this particular test site is running on a blazing fast WordPress managed host called WPX Hosting so your mileage may vary, particularly if you’re using shared hosting.
Protection options
Modula’s protection options work to not only secure your work but also facilitate client transactions.
Firstly, images are easy to grab since they can just right-click on them and save them in their local drives.
That’s fine if the purpose of saving images is to help prospects decide whether to get your photography or video services or not.
However, this isn’t always the case. Some would profit from your images without your permission.
And the last thing you want to happen is for someone to steal and take ownership of the work you put your heart and soul into.
To prevent this from happening, install and activate the right-click Protection module.
Once activated, go to the gallery where you want to enable this, scroll down the Settings section, click on the Miscellaneous tab, and enable protection.
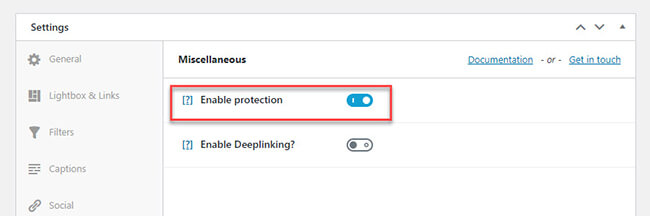
Save the settings to prevent visitors from using the right-click button when viewing your photo gallery.
Now, let’s say you have clients who want to view the raw photos or videos from the event where they hired your services.
Instead of sending them a thumb drive containing copies of the images they’ll choose from, you can just display the images from your site.
Initially, the gallery will be set to public so all your visitors can see it. Your clients wouldn’t want this as their photos are for their viewing only.
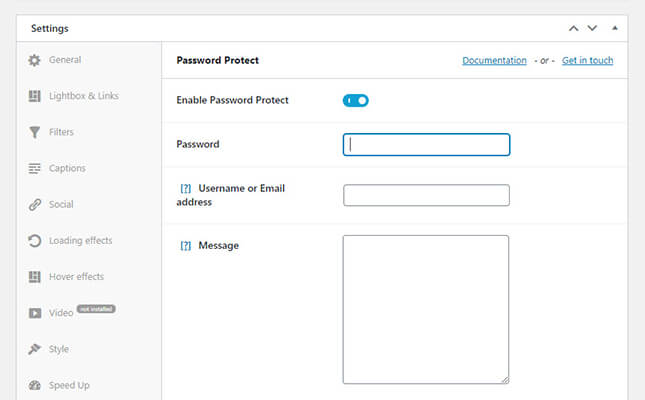
However, Modula allows you to password-protect client galleries. All you must do is send them the link where the gallery is and the password they need to enter so they can view it.
Once you’ve activated the Password-protect extension, go to the gallery you want to enable this feature. Next, you need to enter the password, the username or email address of the client, and a short message about the gallery.
Pricing
From this Modula review, it’s evident that the free version of the gallery plugin can cover a lot of ground.
However, for professionals looking to attract clients from their website or protect their work, purchasing Modula PRO is a no-brainer.
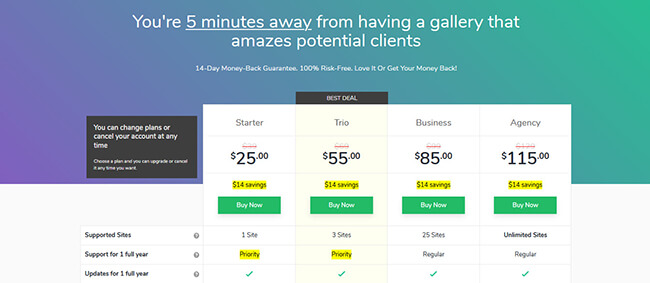
The Modula plugin has four plans paid annually. Each offers a different number of supported sites and features.
Solopreneurs may find the Starter plan ($29 per year) sufficient enough to cover their needs. From a single site. you can enable gallery sorting and filtering as well as a lightbox slideshow from this plan.
The Trio plan ($55 per year) lets you use the Module gallery plugin on three (3) sites max. You can also access features like SpeedUp, Right-Click Protection, Password Protect Galleries, and more to beef up your visual media presentation.
For businesses managing different WordPress sites for clients, the Business plan ($85 per month) gives you access to use the image gallery plugin for 25 sites. Other premium features like SEO Deeplink, Watermark, Role Management, and more.
Finally, if you want to use the image gallery plugin with your own branding, the Agency plan ($115 per year) is for you. Its White Label feature replaces any mention of Module with yours. Also, aside from having all the features from previous plans here, you can use Module on unlimited WordPress sites.
If you’re unhappy with any of the paid plans for whatever reason, Modula offers a 100% no-risk, money-back guarantee within 14 days.
Pros and cons
There’s a lot to love about Modula’s easy-to-use gallery plugin.
To help you better understand what Modula brings to the table, below is a brief overview of its strengths and weaknesses.
Pros
- Choose from different hover effects to create more dynamic photo collections and albums for prospects and clients.
- Keep your work from being stolen using the right-click protection and watermark features.
- Display your visual content from your site without compromising on site speed by enabling the SpeedUp extension.
- Collaborate on a website with your team using the Role Management and White Label extensions.
Cons
- Features such as Password Protect and SpeedUp unavailable on the Starter plan.
Modula review: Final thoughts
Modula stands out as one of the best gallery plugins on the market and it’s ideal for highly visual websites such as photography blogs, travel blogs, portfolio websites and more.
The list of hover effects and image loaded effects give your grid galleries a much-needed breath of fresh air compared to the cookie-cutter presentations that other plugins offer.
Its premium features, especially the protection extensions, allow you to protect your content from those who would try to profit from your work.
Also, you can conduct client businesses straight from the site by password-protecting their galleries.
While some may be disappointed that SpeedUp and Password Protect features are unavailable on the lowest plan. However, it’s important to note that with the SpeedUp feature, it costs Modula to facilitate this because it has to integrate with Shortpixel and StackPath.
So, it’s understandable to pay a bit extra for those features.
Regardless, the Modula plugin possesses everything you need to make your images and videos look professional while improving page load times and saving you time. And protecting your photos. All without the need to use a dedicated photography theme.
Disclosure: This post contains affiliate links. This means we may make a small commission if you make a purchase.